
How Do I Create and Manage Users in User Manager?
User Manager is where administrators create, configure, edit, and deactivate FreightPOP user accounts. Each user has their own login credentials, role, visibility settings, and optional defaults that control how the app behaves for them.
To access User Manager, navigate to Settings in the top navigation, then select User Manager.
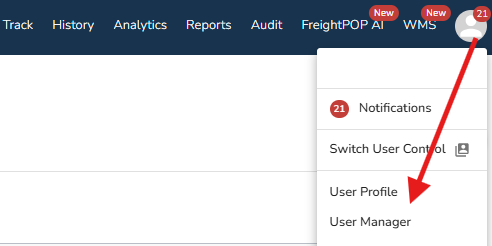
Creating a New User
Step 1: Open the Add User form
From User Manager, click the Add User button.
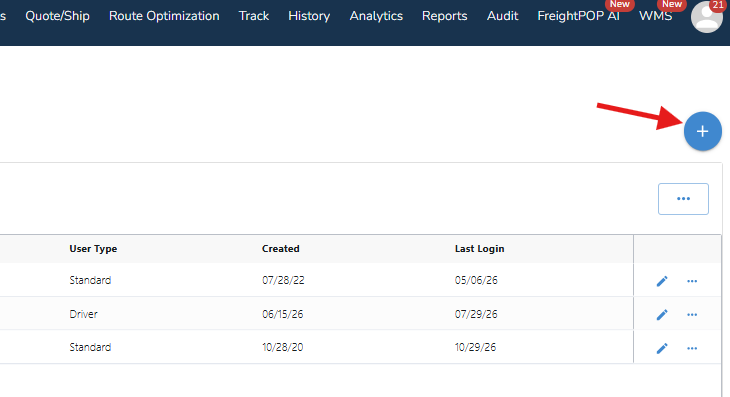
Step 2: Fill in required fields
The following fields are required to create a user:
First Name and Last Name -- the user's display name throughout the application.
Email -- used as the user's login identifier and for system notifications.
Telephone -- a contact number for the user.
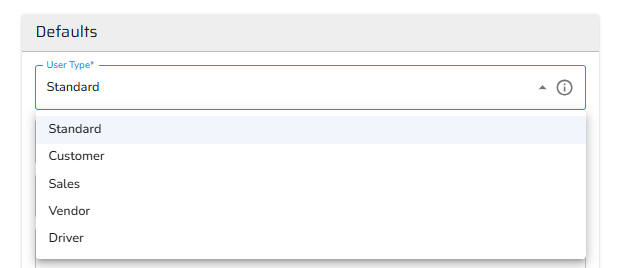
User Type -- controls the category of user being created. The default for most users is Standard (internal users). Additional options include Customer, Sales, and Vendor.
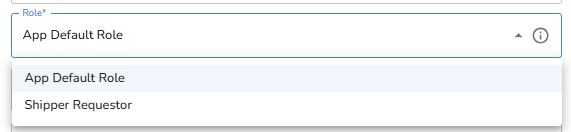
Role -- controls what the user can access and do within FreightPOP. Select the appropriate role for this user's responsibilities.
Assigned Carrier(s) -- select the carriers this user is permitted to use for quoting and shipping.
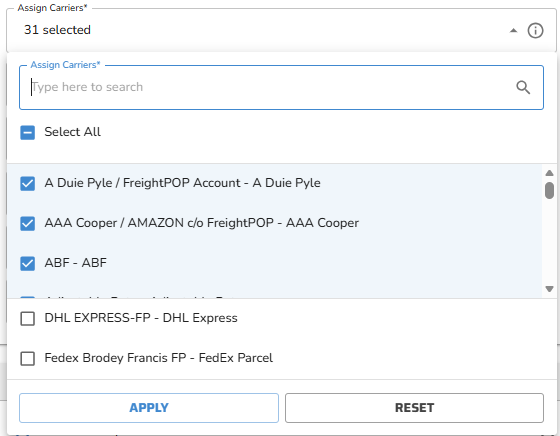
Step 3: Configure optional settings
These settings are not required but are important for most users:
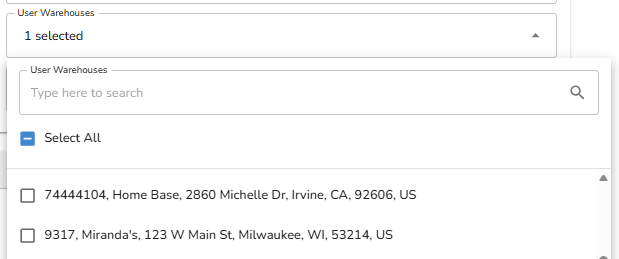
Warehouses
Assign the user to one or more warehouses to control which locations they can ship from, view orders for, and see shipment history. If no warehouse is assigned, the user may have visibility across all locations depending on their visibility setting.
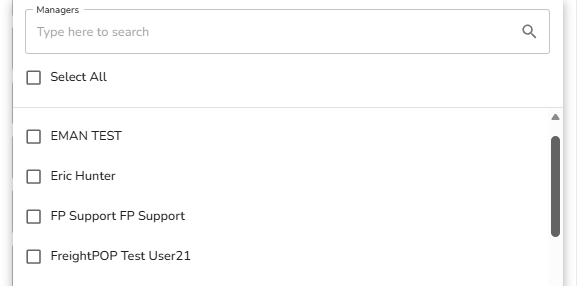
Managers
You can assign one or more managers to a user. Managers are notified and required to approve shipments when shipping approval rules are triggered. Users with a Shipping Manager or Operations Management role are automatically available for selection as managers.
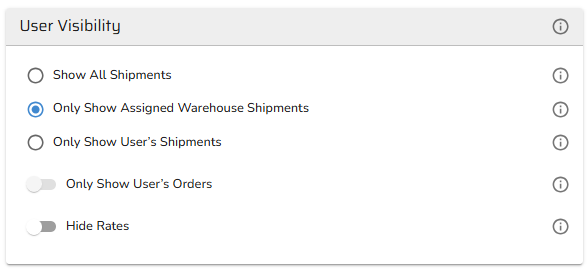
User Visibility
Controls what shipment history the user can see:
Show Entire Account Shipments -- the user can view all shipments across all locations and users.
Show Default Warehouse Shipments -- the user can view shipments from their default warehouse only.
Only Show User's Shipments -- the user can only see their own shipment history.
Step 4: Save the user
Click Save to create the user account. The user will be able to log in immediately using the email and password you set.
Cloning an Existing User
When you need to create a new user with settings similar to an existing one, use the Clone feature instead of creating from scratch.
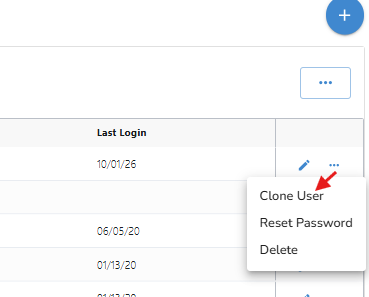
From the User Manager grid, locate the user you want to clone.
Click the Clone option for that user.
A new user form opens with all settings copied from the original user, except:
First Name
Last Name
Password & Confirmation
Email
Telephone
Fill in the required fields for the new user and click Save.
The cloned user's Order Management Page Layout is also copied from the original user.
Editing an Existing User
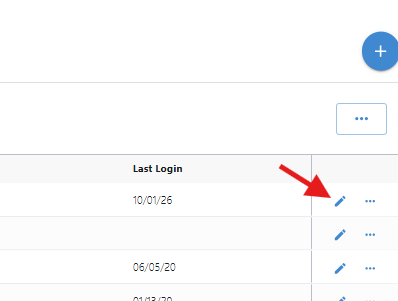
From the User Manager grid, locate the user you want to edit.
Click Edit for that user.
Update any fields as needed across the available tabs: the main profile, Advanced Settings, and any other configured sections.
Click Save to apply your changes.
Resetting a User's Password
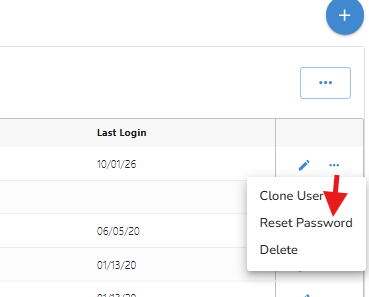
Admins can reset a user's password from within the edit user form. For security, it is recommended that users reset their own passwords through the standard Forgot Password process when possible.
If your organization uses SSO Only, the Reset Password option is disabled. Password management is handled by your identity provider.
Deactivating a User
When a team member no longer needs access to FreightPOP, deactivate their account rather than deleting it. Deactivating preserves their shipment history and settings while preventing login.
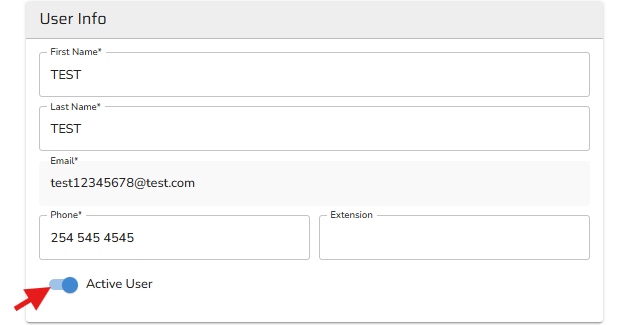
From the User Manager grid, edit the user.
Toggle off the Active User option.
Confirm the action. The user will no longer be able to log in.
To reactivate a user, toggle on the Active User option.
User Types and Roles
User Type defines the category of user. The most common types are:
Standard -- the default type for internal employees who use FreightPOP for day-to-day shipping.
Customer -- for external customer-facing accounts.
Sales -- for sales team members.
Vendor -- for vendor or supplier accounts.
Role defines what features and pages the user can access. Roles are configured at the company level. Contact your FreightPOP administrator if you need a new role created or an existing role modified.
Advanced Settings
The Advanced Settings tab on a user record contains additional per-user configuration options. These are optional and do not need to be set when first creating a user, but are useful to configure based on the user's workflow. Key settings include:
Shipment Details Defaults -- sets the auto-calculation rule applied for this user (e.g., Use Volume Calculation for Auto Pack).
Schedule Pickup defaults -- pre-fills ready time, cutoff time, and pickup date behavior on the Quote/Ship screen.
Weight Verification Upon Shipping -- warns the user if shipment weight differs from product weight by more than a set percentage.
Keep User Logged In -- extends the inactivity timeout beyond the default 1-hour limit.
Fields Required for Shipping -- enforces specific fields before a shipment can be completed.
Disable Approval Emails -- for designated approvers who should receive approval requests via the Message Center only, not by email.